OBIEE has multiple column formatting properties. Each property has multiple options. Hence it is quite understandable that it comes with pre-selected default option.
In most cases these default values serves us well and we are mostly happy with it. Most of the time we only change them at report level for few columns.
But there are situations when users of particular subject area wants all columns in that subject area to have a formatting option different than the default.
For eq. All columns should Repeat values rather than suppress.
There are couple of ways in which this can be done.
Today I will walk you through simple steps you can use to automate this option. And once you have the baseline build for one subject area you can do it for any subject area with any no. of columns in almost no time.
If you now carefully observe the XML content, there are 3 sections:
That's it. If you go back to the answers now and try to create a report you will see that all columns have the default values defined above.
In most cases these default values serves us well and we are mostly happy with it. Most of the time we only change them at report level for few columns.
But there are situations when users of particular subject area wants all columns in that subject area to have a formatting option different than the default.
For eq. All columns should Repeat values rather than suppress.
There are couple of ways in which this can be done.
1. Change the default values in the XML files.
This is the simplest of all options. But this will change it across board for all subject areas in OBIEE. This might not be desirable in all cases.
2. Manually change the value for each column in the subject area and save as system wide default option.
This option will make sure change is only for one subject area. But imagine doing this manually for 100's of columns. Its very time taking and is prone to mistakes.
- Build a simple report with 1 column.
- Go to column formatting for the column.
- Change from suppress to repeat and save as system wide column format.
- Open catalog manager and access online catalog.
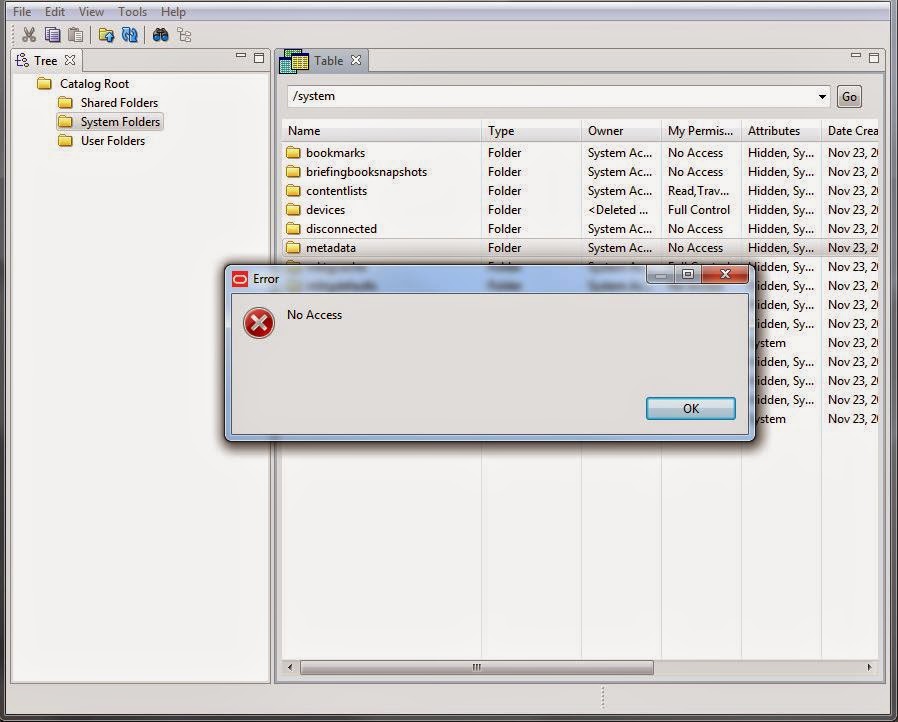
- Go to catalog root/system folders/metadata. How to get access to metadata folder?
- You should see a new entry for the subject area used to create report in step 1.
- Open the file, go to Edit XML and copy the XML content.
If you now carefully observe the XML content, there are 3 sections:
- Header - Appears only 1 time at top for each subject area.
- Column Format - Appears 1 time for each column. <sawsavedformat:columnSavedFormat xmlns:saw="com.siebel.analytics.web/report/v1.1" xmlns:xsi="http://www.w3.org/2001/XMLSchema-instance" xsi:type="sawsavedformat:regularColumnSavedFormat" columnName=""Subject Area"."Presentation Table"."Presentation Column"">
- Footer - Appears only 1 time at the bottom for each subject area. </sawsavedformat:columnSavedFormats>
<?xml version="1.0" encoding="UTF-8"?>
<sawsavedformat:metadata xmlns:sawsavedformat="com.siebel.analytics.web/savedformat/v1.1">
<sawsavedformat:columnSavedFormats>
<sawsavedformat:metadata xmlns:sawsavedformat="com.siebel.analytics.web/savedformat/v1.1">
<sawsavedformat:columnSavedFormats>
<saw:displayFormat>
<saw:formatSpec suppress="repeat"/>
</saw:displayFormat>
<saw:tableHeading>
<saw:displayFormat />
</saw:tableHeading>
<saw:columnHeading>
<saw:displayFormat>
<saw:formatSpec />
</saw:displayFormat>
</saw:columnHeading>
</sawsavedformat:columnSavedFormat>
</sawsavedformat:metadata>
This is where we can use the power of excel and create XML content for all columns in a subject area automatically.
Before implementing below steps please take a backup of webcatalog. Also please be aware of impacts to any existing reports upon changing the default formats.
Before implementing below steps please take a backup of webcatalog. Also please be aware of impacts to any existing reports upon changing the default formats.
- Generate an excel report of all metadata objects using RPD tool utility (Tools->Utilities->Repository Documentation).
- We only need Subject Area, Presentation Table and Presentation Column. Copy these columns for any single subject area and paste in a new excel sheet.
- Create 3 new column in the worksheet. Call them "String1", "String2" and String3". Now we have total 6 columns in the excel sheet.
- Insert a new row at top and paste Header section content in "String1". All other columns will be blank.
- Insert a new row at bottom and paste Footer section content in "String1". All other columns will be blank. </sawsavedformat:columnSavedFormats>
- For the 1st row with non blank subject area value, we will divide Column Format section content in String1, String2 and String3. This is done to easily concatenate all strings together in excel. If you have any other preferred way to concatenate without breaking them down, feel free to do so.
<?xml version="1.0" encoding="UTF-8"?>
<sawsavedformat:metadata xmlns:sawsavedformat="com.siebel.analytics.web/savedformat/v1.1">
<sawsavedformat:columnSavedFormats>
<sawsavedformat:metadata xmlns:sawsavedformat="com.siebel.analytics.web/savedformat/v1.1">
<sawsavedformat:columnSavedFormats>
</sawsavedformat:metadata>
String1 - Constant
<sawsavedformat:columnSavedFormat xmlns:saw="com.siebel.analytics.web/report/v1.1" xmlns:xsi="http://www.w3.org/2001/XMLSchema-instance" xsi:type="sawsavedformat:regularColumnSavedFormat" columnName="
String2 - Concat Subject Area, Presentation Table and Presentation Column.
"Subject Area"."Presentation Table"."Presentation Column"
String3 - Constant Column Format options. You can add any no. of column format options in this column. Keep only those options which you want to change.
">
<saw:displayFormat>
<saw:formatSpec suppress="repeat"/>
</saw:displayFormat>
<saw:tableHeading>
<saw:displayFormat />
</saw:tableHeading>
<saw:columnHeading>
<saw:displayFormat>
<saw:formatSpec />
</saw:displayFormat>
</saw:columnHeading>
</sawsavedformat:columnSavedFormat>
7. We can now concatenate "String1", "String2" and String3" to create a new column "String123".
8. Do this for all columns in excel sheet (copy and paste).
8. Do this for all columns in excel sheet (copy and paste).
9. Copy all values in column "String123" and paste in the Catalog Manager (catalog root/system folders/metadata) subject area file.
That's it. If you go back to the answers now and try to create a report you will see that all columns have the default values defined above.
And once you have this template of excel ready all you need to do is replace with a different subject area content. And copy paste to webcatalog using catalog manager.
Thanks,


